
24. Finding My Analog Workflow Zen and DIY High-Resolution Scanning

Rather than focusing on the usual philosophical or psychological aspects, this article delves into the technical side of my photography practice. Recently, I decided to re-scan some of my medium format negatives to see just how much resolution I could extract from them.
The idea came to me on my return flight from Portugal. I found myself without cell service, which meant no access to my Spotify playlists—none of which I had downloaded beforehand—and I had, of course, forgotten my iPod full of MP3s at home. Left to my own devices, I started scrolling through the Notes app and discovered I had saved three theoretical books by the legendary landscape photographer Ansel Adams. Being particularly interested in the gear side of photography and the various techniques used to create great images, I began reading The Camera. One of the final chapters touches on macro photography and magnification ratios.
At the time, I had been scanning entire medium format negatives in one shot, not fully utilizing the 1:1 reproduction capability of my macro lens. That sparked an idea: why not re-scan each negative by dividing it into multiple smaller sections, then stitch them together in Lightroom like a panorama? I focused as close as possible and took about nine overlapping images per frame, carefully shifting horizontally and vertically. Lightroom had no issue aligning the shots, and the final resolution of each scan reached around 9500 pixels on the long edge. For square frames shot on my Rolleicord V, that came out to roughly 90 megapixels—far more detail than the 24 megapixels I get from scanning 35mm negatives.

It would be ideal to do this in-camera without manually moving the frame, as the process is quite tedious. Newer models of my camera include a feature called Pixel Shift Technology, which works similarly by shifting the sensor slightly to capture multiple exposures for increased resolution.
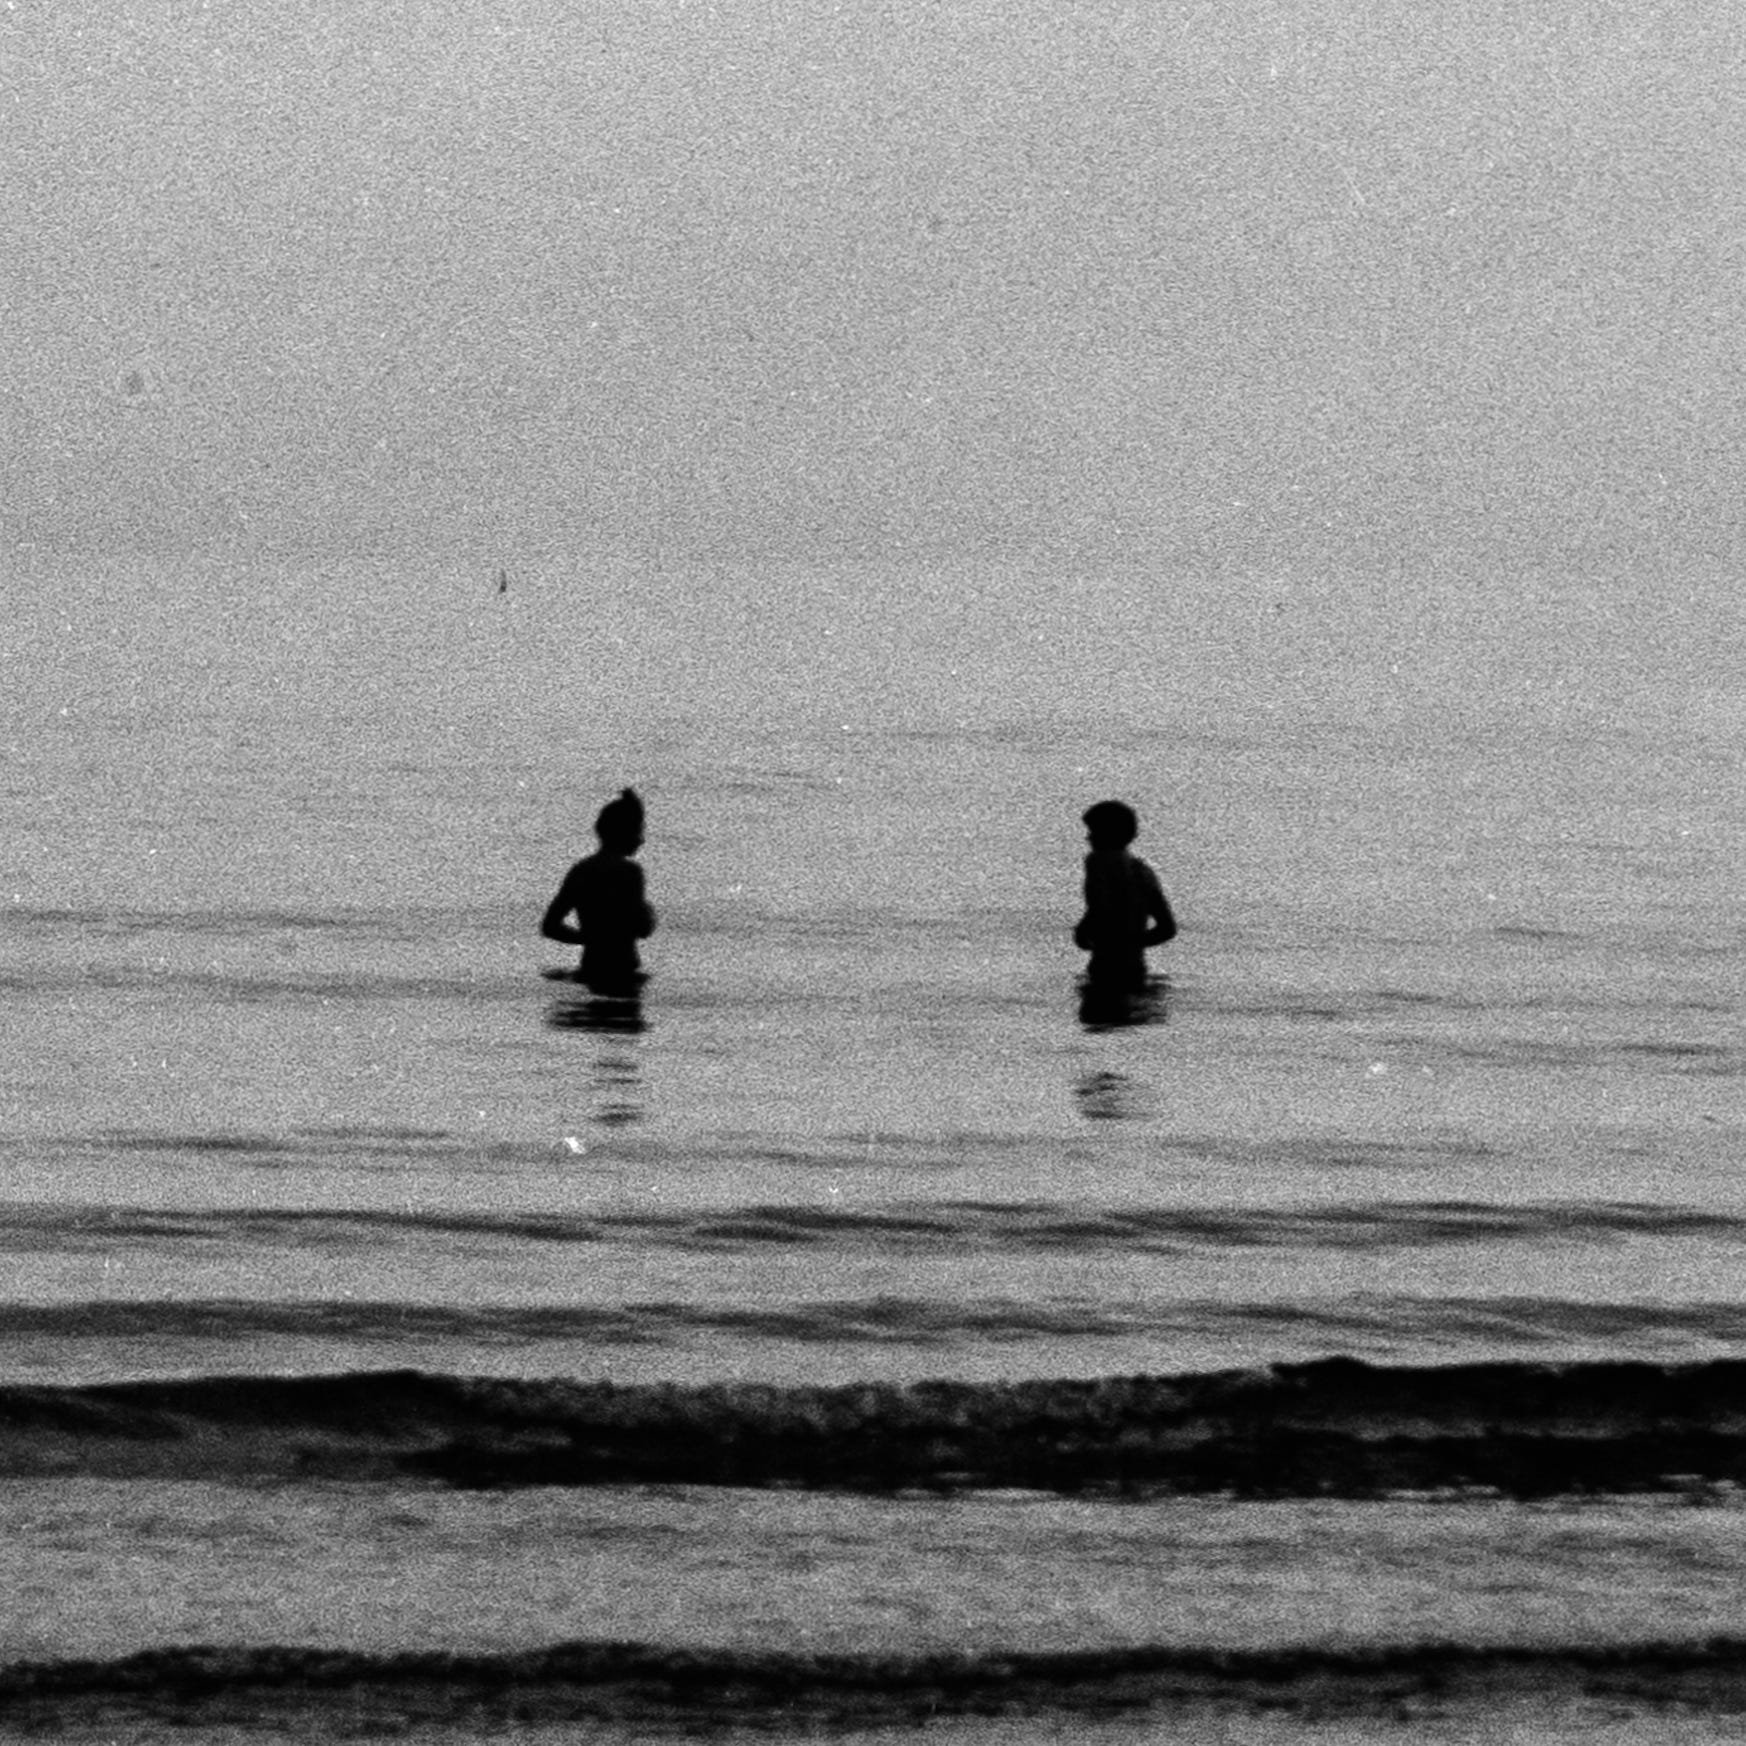
This was my first time seeing such high-resolution scans of medium format film. It felt like discovering a frame within a frame, where even the grain became a creative asset. Shooting fine-grain film like Kodak T-Max 400 allowed me to zoom in extensively without sacrificing much detail.
I develop and scan my film at home for cost efficiency and greater control over the variables involved. I used to develop my black-and-white work with Rodinal, but I’ve since switched to Adox XT-3, a finer-grain developer that doesn’t require mixing fresh each time. I rely on the Massive Dev Chart app for development times and as a timer during the process.
My scanning workflow has evolved significantly. I started on a budget by using my Sony RX100 to scan negatives, focusing as close as possible and cropping the image afterward. The results were surprisingly good, though I struggled with reflections. Recently, I upgraded to a macro lens on my mirrorless camera and added a copy stand—a repurposed Durst enlarger my friend Martin sourced for me. He also 3D printed scanning masks for both 35mm and 120 formats. The quality improved considerably, and my workflow became much faster.
At this point, the only weak spot in my setup is the lamp. I’m still using a cheap LED I found in the trash, which I enclosed in a shoe box with a cable, a switch, and a matte surface to diffuse the light under the negative. For color negatives, upgrading to a high-CRI light source is essential, but since I mostly shoot black-and-white, I’ve chosen to allocate resources elsewhere. When I do shoot color, I scan those rolls at my local lab using a Fujifilm Frontier scanner.
The final book in Ansel Adams’ series is The Print, and reading it is my next step. Now that I’ve learned this high-resolution scanning technique, I want to see just how much detail translates onto paper when printing these images at full resolution.